Kitchen Cabinet Refinishing With Stylux Painting
Kitchen cabinet refinishing is a great way to give your kitchen cabinets an updated look without the expense of replacing them completely. Kitchen cabinet painting is also a cost-effective option for kitchen improvement and renovation. With the right partner to work with, your kitchen cabinets will be transformed and elevated.
Stylux Painting is a professional painting contractor in Calgary that can handle all your kitchen cabinet painting needs. We have a wide range of colors and finishes to choose from, so you can find the perfect look for your kitchen. We also offer a free consultation to help you decide on the best option for your kitchen cabinets. Contact us today to learn more about our kitchen cabinet painting services!
Preparing Your Kitchen Cabinets For Refinishing
Preparing Your Kitchen Cabinets For Refinishing
When it comes to kitchen cabinet refinishing, preparation is key. Painters need to have the right tools and materials on hand, as well as enough ventilation to keep the workspace comfortable and safe. Dismantling the kitchen doors and drawers is also a good idea, as this will make it easier to paint them evenly. Once everything is ready, the actual painting process can begin. For best results, hire our professional cabinet painters who have experience with kitchen cabinet refinishing. With their expertise, your kitchen cabinets will look like new in no time!
- You will need to empty the drawers and the cabinets or cupboards before we start the project. It is also best to remove the cabinet doors and drawers. Once removed, we will label the doors and drawers hinges and hardware, so it will be easier to return to their right spot.
- After removing the doors and drawers, we need to clean all the surfaces to remove the grease stains and dirt. Check for dents and repair any damages in your cabinet with wood filler.
- Surface prep is the biggest failure point for the adhesion of the new finish. If the old paint is peeling or cracking, the old paint needs to be removed. There are stripping products that can make the work easy. Apply the stripping liquid to the cabinet’s old paint and use a scraper to scratch it off the surface. Sand the surface if there are leftover paints.
- Vacuum or wipe the whole area to make everything dust-free before you start painting.
- Begin covering the countertops, furniture, and appliances with dust barriers to protect them from over-spray and dust from the painting and sanding. Sand the surface in a moderate grind to help the cabinet with paint absorption.
Priming Kitchen Cabinets
To achieve the quality final factory like finish you desire, we use the high-quality primer that will reveal the best hue of your chosen kitchen cabinet colour.
- We start with the inside of the cabinet frame before painting the exterior body. We begin with the back-most portion of the cabinet, the one leaning off the wall, going to its front part. It is best to use a brush to cover the edges and the details of the cabinet. We ensure to paint in one direction for an even and precise final coating.
- We paint the large areas using a mini roller. The primer doesn’t have to look flawless. It only needs to provide a good base for the finish paint.
- Use your dry roller or brush to lay off any excess paint build-up on the surface.
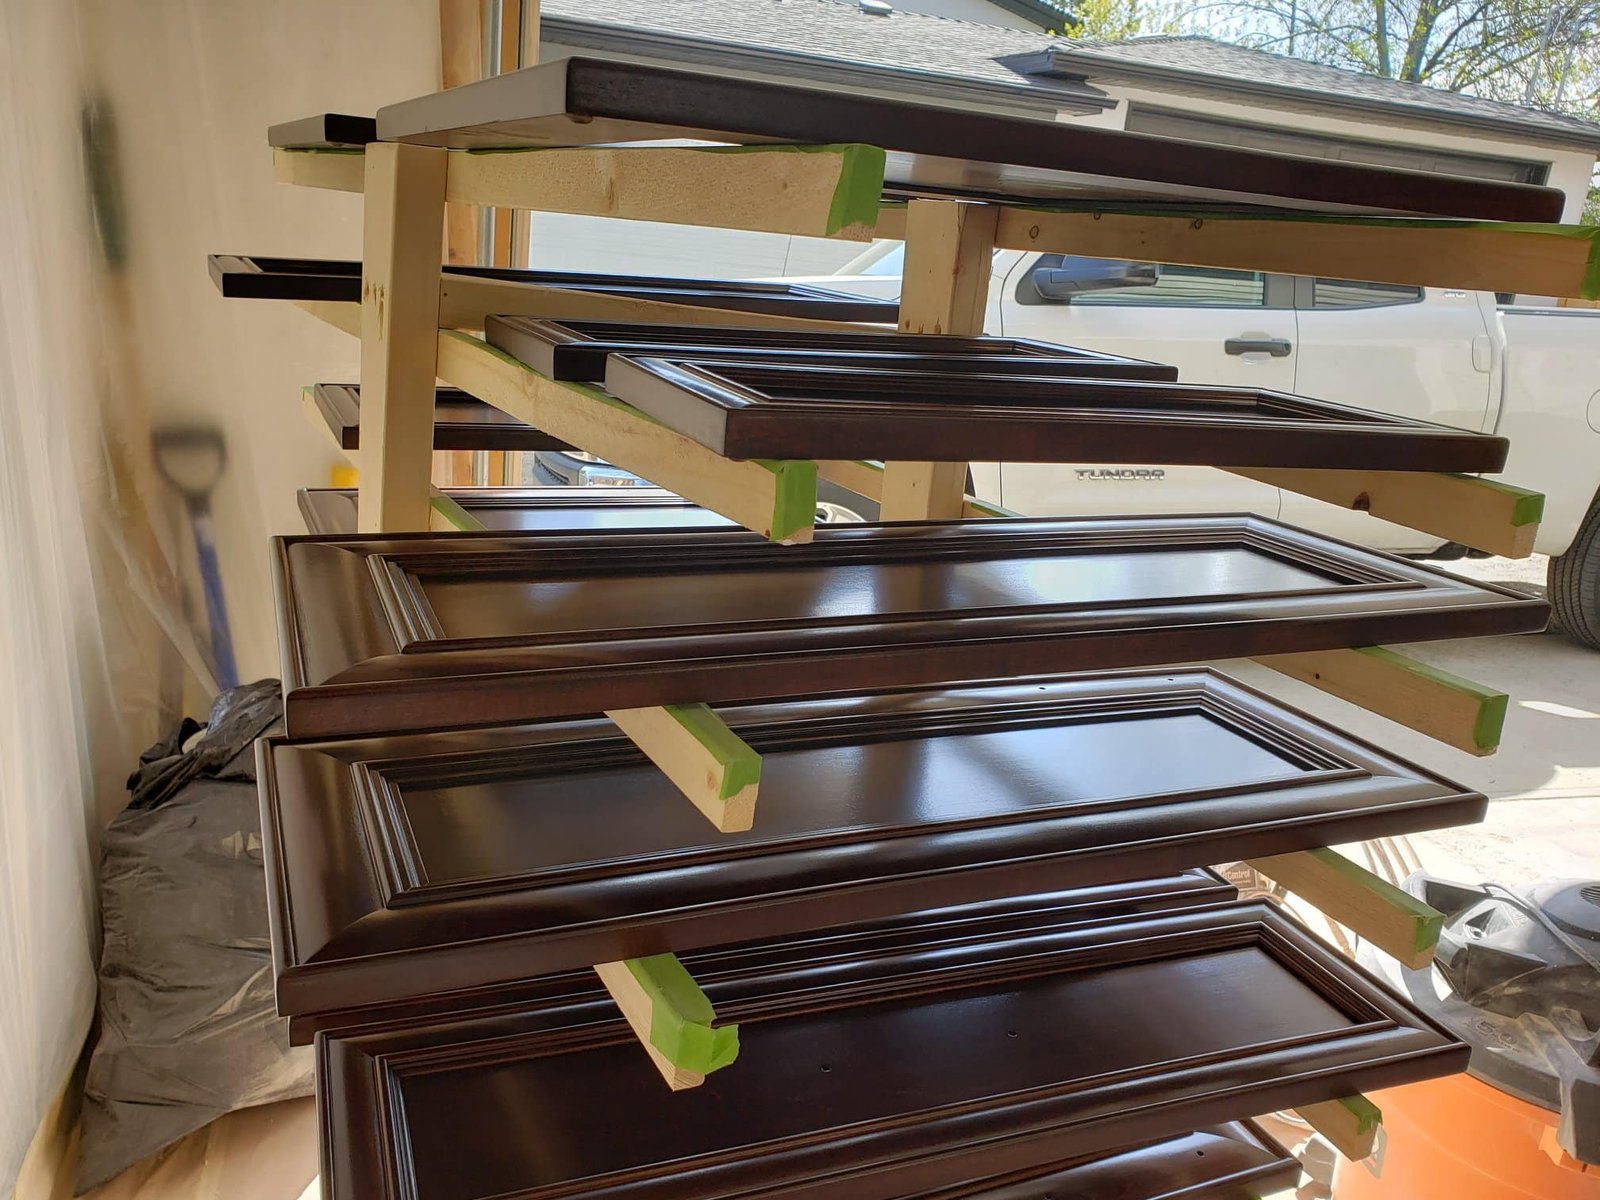
- Finally, we paint the cabinet doors and kitchen drawers. We start the process by painting the backside and applying even coats. The paint mustn’t pool on the details or the corners. Use rotating rack and drying rack for best results and convenient painting.
Painting Your Kitchen Cabinets
When the primer dried up, we can start painting the kitchen frames using an airless sprayer, roller, or paintbrush with the colour of your choice
- Start painting with the cabinet frames evenly in the same direction. Make sure to cover the corners and details of the cabinet frame. Remember to lay off the excess paint build-up after the surface has been painted.
- Paint the cabinet doors and drawers’ front and back pieces. Do not rush, and let the paint sit completely.
- Apply a second coat of paint. This is your finishing coat.
Refinishing & Reassembling Your Kitchen Cabinets
You can wash and repaint the old knobs and handles of your kitchen cabinets, or you can change them. It is an economical way to improve the aesthetics of your kitchen cabinets after applying a fresh coat of paint. It will elevate the modernity of your kitchen cabinets.
For Old Knobs and Handles:
- Wash the hardware with warm water and dish soap.
- Scuff the hardware using fine steel wool.
- Attach the handles and knobs to the cabinets and drawers.
- Spray the hardware with light primer and let it dry. Then follow it up with a coat of paint.
For Reassembling with Old or New Hardware:
- Reassemble the kitchen cabinet doors and drawers. Make sure to refer to the label you had to put them on their right spot.
- Install additional cabinet lighting and accessories to ornate your kitchen. You can install a new backsplash.
